
Last updated November 15, 2026
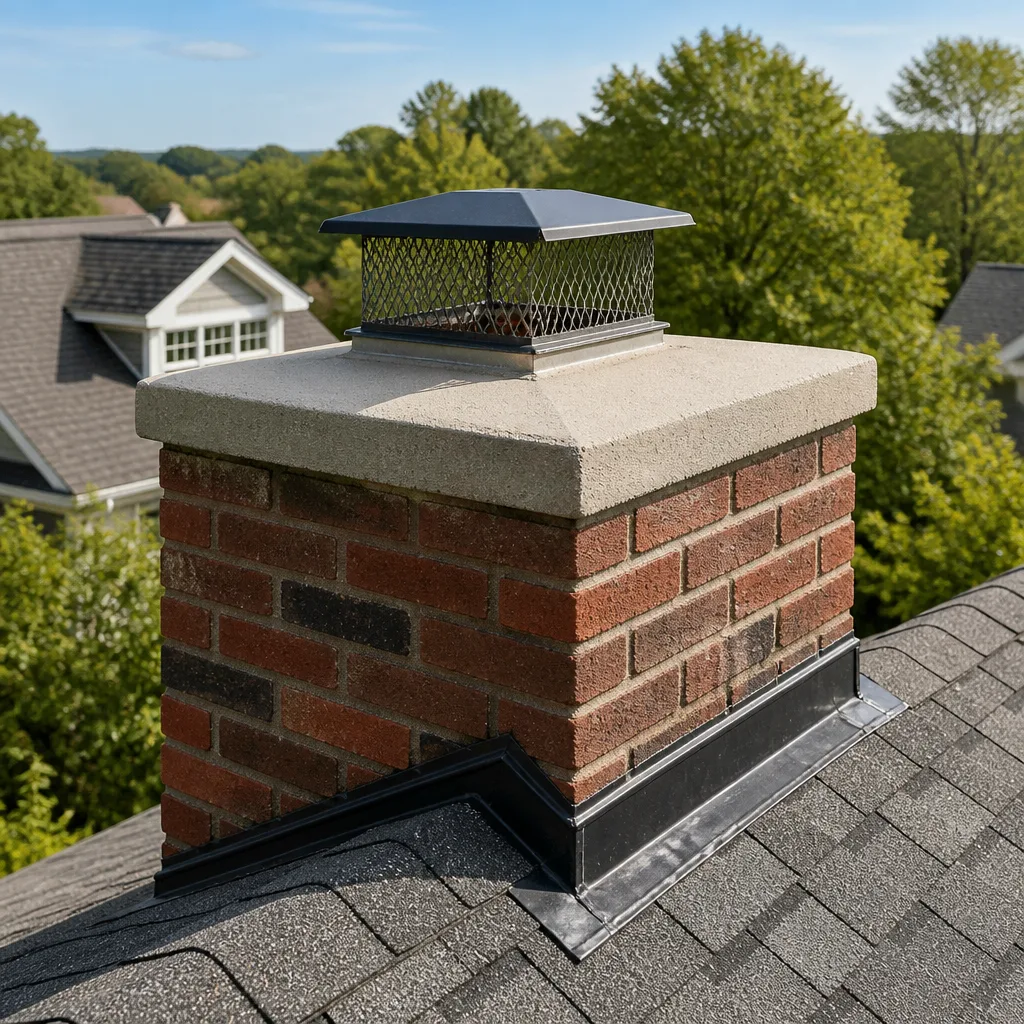 Sweep & inspection
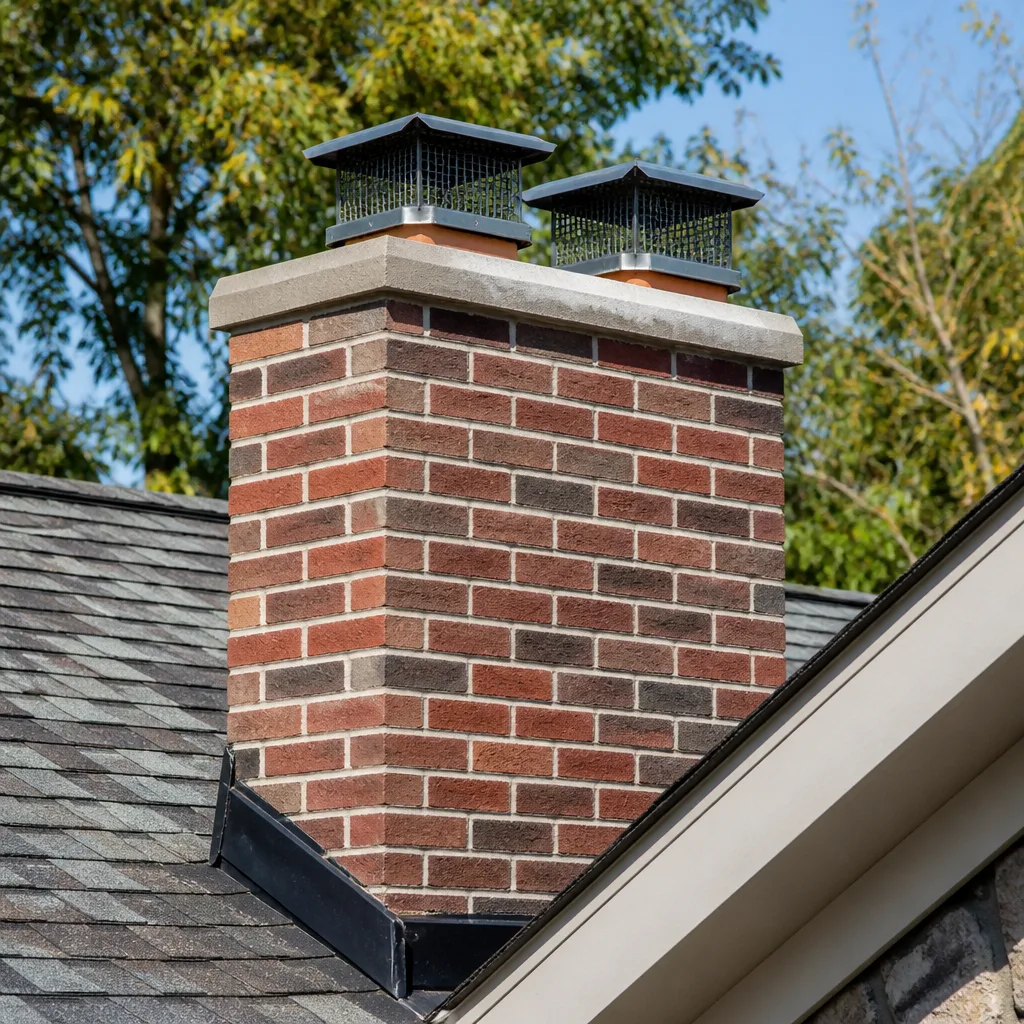 Caps & crowns
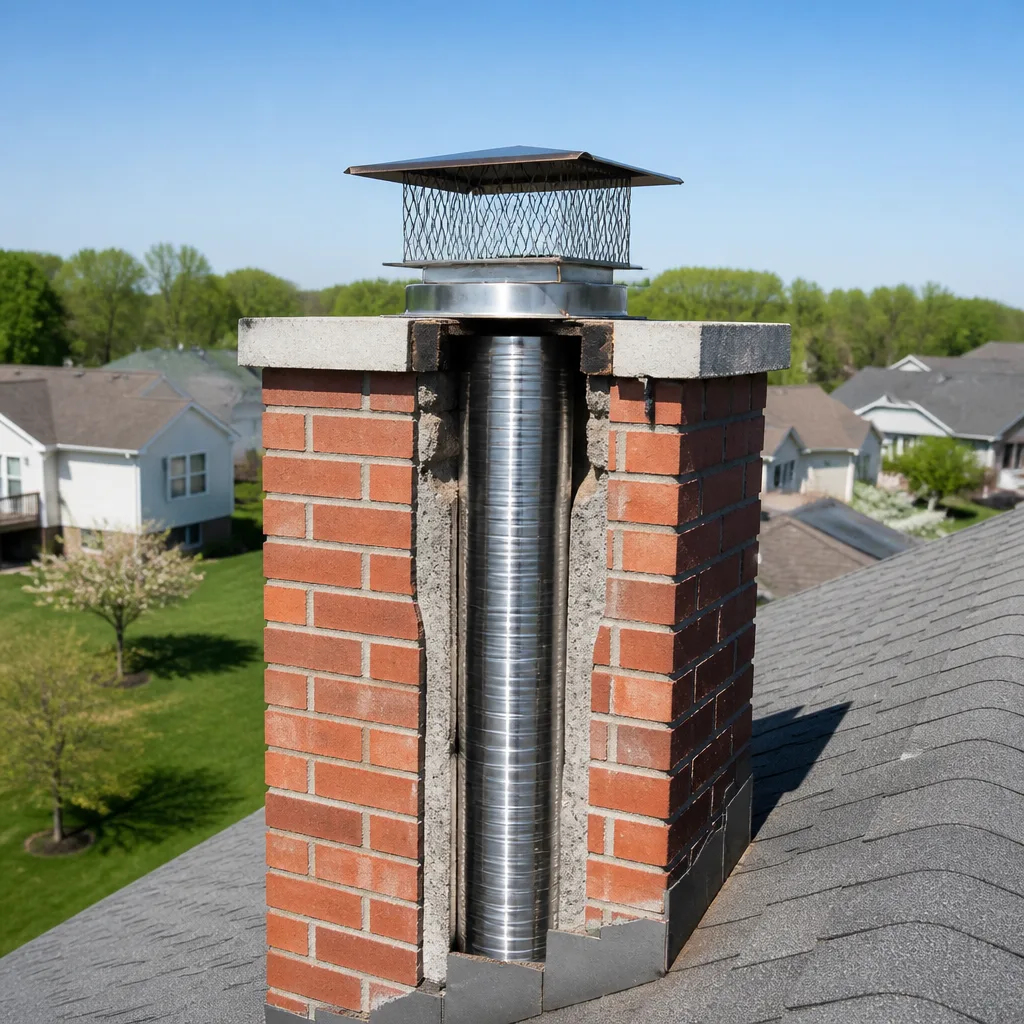 Flue relining
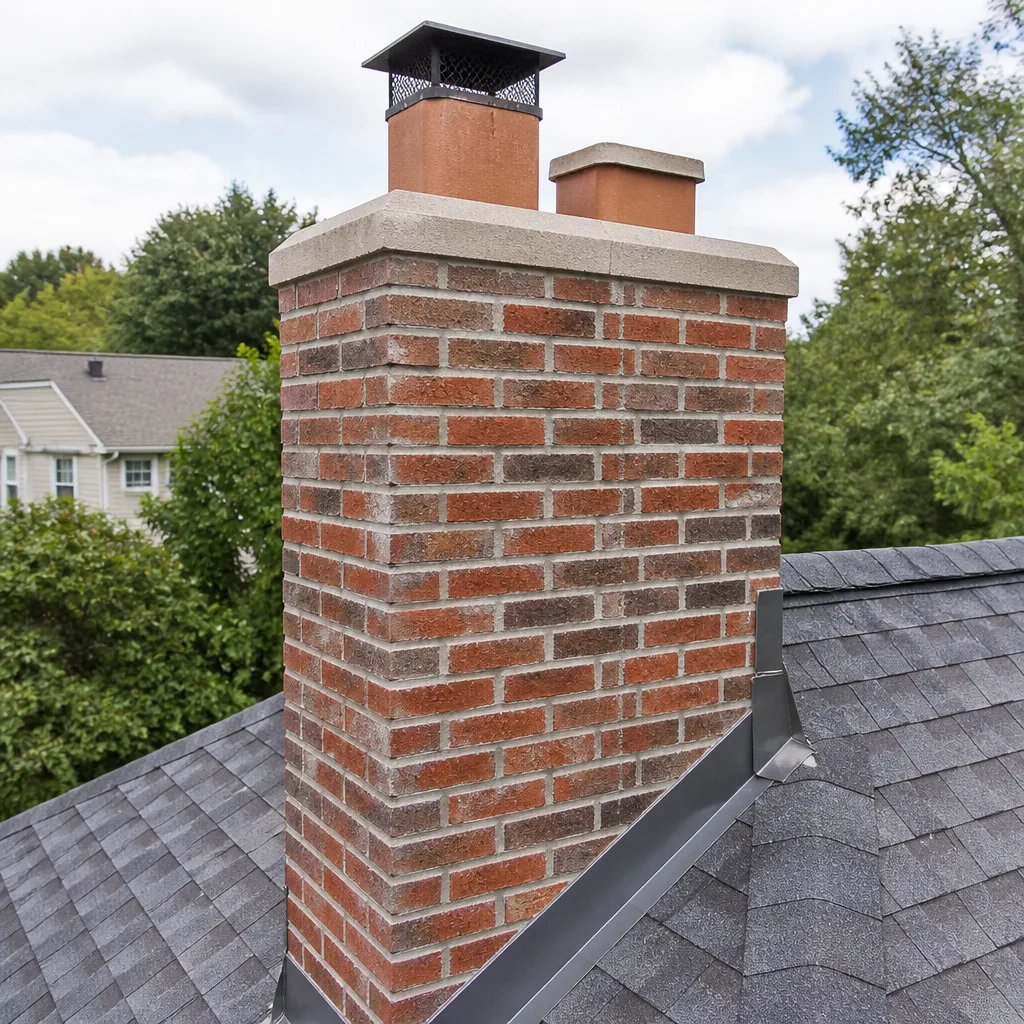 Masonry repair
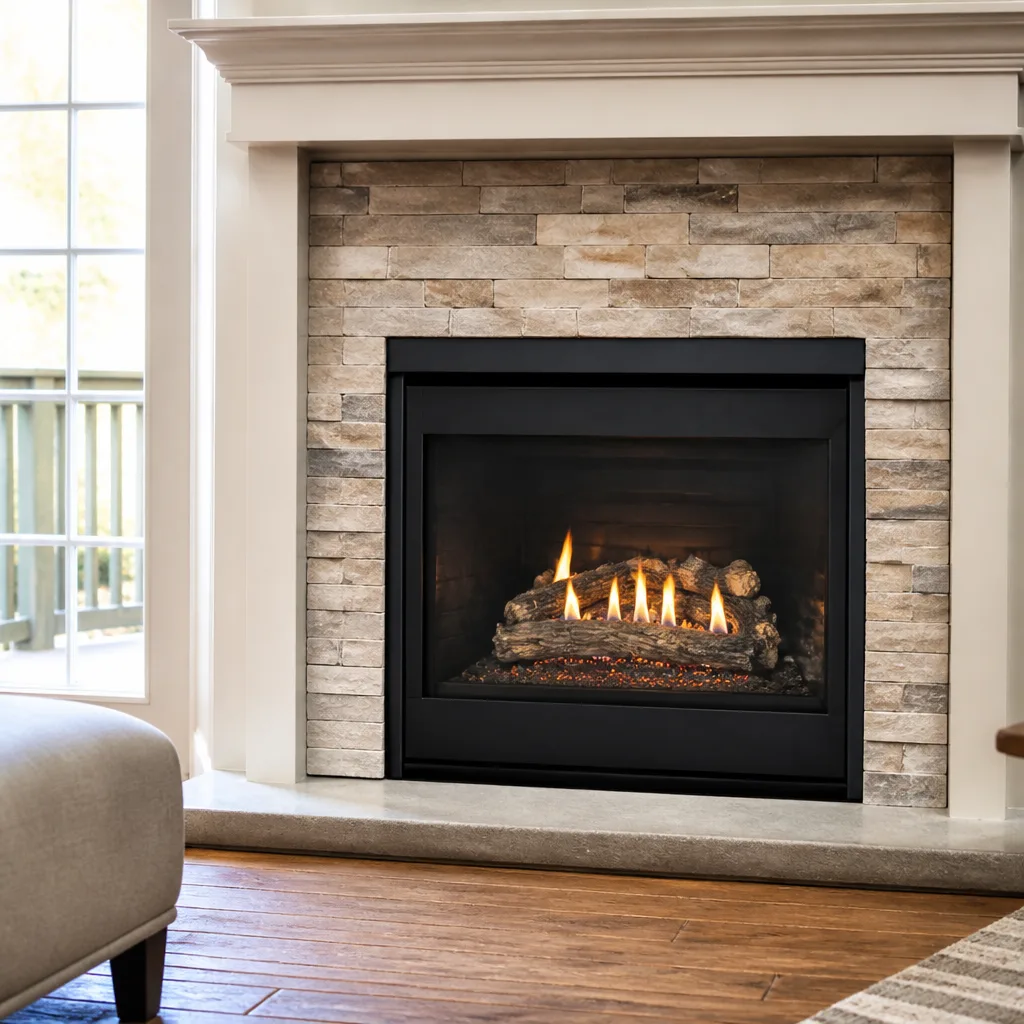 Gas fireplace service
Level 1 sweep and inspection to the NFPA 211 annual standard - flue, crown, cap, and flashing checked and photographed
Chimney sweep logs do not sweep chimneys. They loosen some creosote - which then falls where a brush and vacuum still have to collect it.
Chimney Sweep Maintenance Checklist for Pembroke Pines Homeowners
The chimney cap you forgot to check after last hurricane season may have shifted just enough to channel water straight down into your flue liner. You won’t know it until you light your first fire in November. Most chimney care advice you’ll find online is written for a four-season climate. Pembroke Pines doesn’t work that way. Here the chimney year runs on three rhythms: a long idle summer that ends with hurricane season, a short but heavy burn window in the cooler months, and a spring cleanup that sets up everything that follows. This guide walks you through the specific checks for each phase, tells you what you can inspect yourself, and flags what needs a trained eye and a camera. Mention Pembroke Pines once too many times and this becomes a directory listing, so we’ll keep it practical.
Styles & brands we work with
- Sweep & inspection
- Caps & crowns
- Flue relining
- Masonry repair
- Gas fireplace service
Quick Answer
A thorough chimney maintenance checklist in Pembroke Pines runs on four seasonal passes: a pre-season inspection in October before the first fire, a post-hurricane structural check after any tropical system, mid-season monitoring during active burning, and an off-season review from April through September covering cap integrity, screens, and moisture. The single most important item is a professional inspection with a camera before you use the fireplace each fall. Everything else in this guide supports that one appointment.
Table of Contents
- The October Pre-Season Checklist
- Post-Hurricane Structural Checklist
- Mid-Season Checks During Active Burning
- Off-Season Checklist: April Through September
- DIY-Visual vs. Professional Checklist Items
- Creosote, Draft, and Why the Burn Window Matters Here
- What a Real Inspection Should Document
- Common Mistakes to Avoid
- When to Call a Professional
- Frequently Asked Questions
- The Bottom Line
The October Pre-Season Checklist
The most consequential chimney checklist of your year happens before you light a fire, not after something goes wrong. By October, your flue has sat largely unused through months of heat and humidity. That idle stretch is when small problems quietly become expensive ones. Soot deposits left from last season absorb moisture. A cap that shifted in summer wind lets rain in. A bird screen that tore in July may have let nesting material drop into the flue. None of that announces itself. You find it by looking before the first burn.
Here’s the ordered pass we recommend going through in October:
- Look at the firebox interior. Shine a light up and check for cracked firebrick, loose mortar joints, and any debris that’s fallen in over the summer. Rust-colored staining on the firebox walls is a sign of moisture getting in, not just wear.
- Open the damper and watch how it moves. It should open and close smoothly and sit flush when shut. A damper that sticks or won’t seal fully will cost you heat and let smoke back into the room.
- Check the smoke chamber if you can see it. That’s the sloped area above the damper. Heavy soot buildup or crumbling parging there is a professional-tool situation.
- Look at the cap from the ground. Binoculars work fine. You’re confirming the cap is still seated, the mesh screen is intact, and nothing has visibly shifted.
- Clear the firebox of stored items. People stash things in idle fireplaces all summer. Anything combustible near the opening comes out.
- Book the professional sweep and inspection. This is the item that matters most, and it’s the one most homeowners postpone. Do it before the first cold front, not after.
The reason to book early isn’t scheduling pressure, it’s sequence. An inspection tells you what’s actually going on before the burning season stresses the system. Findings are documented before any repair is recommended, which means you decide with information rather than guesswork.
Post-Hurricane Structural Checklist
Standard maintenance guides rarely mention tropical weather, which is odd given how much of the chimney’s exterior lives in the path of wind-driven rain and debris. A chimney is a rigid column on top of a flexible structure, and hurricane season puts stress on every part of that relationship. The checks below belong on your list after any named storm passes through the Pembroke Pines area, and they’re distinct from your regular sweeping schedule.
- Cap seating and attachment. Wind can lift a cap or twist it off its bolts. A cap that’s shifted will still look roughly right from the ground while channeling water directly into the flue. This is the single most overlooked post-storm item.
- Screen and spark arrestor integrity. Torn mesh lets birds and squirrels in. Nesting material inside a flue is a draft and fire concern, not a nuisance.
- Crown condition. The crown is the concrete surface on top of the masonry. Hairline cracks are common; larger cracks or separation from the flue tile let water track down between the liner and the masonry.
- Masonry joints and flashing. Look for missing mortar, spalled brick, or flashing pulled away from the roofline. Flashing is where most roof leaks near a chimney begin.
- Visible lean or movement. Any change in the chimney’s vertical alignment after a storm is a stop-and-call-a-professional situation, full stop.
- Water staining inside. Check the firebox and the ceiling around the chimney for new staining or dampness after heavy rain. That’s evidence of a path you didn’t know existed.
One of the reasons we lean on brands like Gelco and Copperfield for caps and damper components is that these are the parts specified by professional chimney contractors, and they hold up to the wind loads this region produces. A hardware-store cap is a temporary fix at best after a storm.
Mid-Season Checks During Active Burning
Once you’re burning regularly, the checklist shifts from inspection to observation. You’re not looking for defects so much as changes. Your nose and your eyes will tell you more than a checklist item can during the burn window. Odors, draft behavior, and smoke rollback are the three signals worth paying attention to, and each points to a different underlying cause.
Odor changes. A slight smoky smell during burning is normal. A sharp, acrid, or chemical odor that wasn’t there before usually means something is burning that shouldn’t be, or that deposits in the flue are being heated in a way they weren’t earlier in the season. Persistent odor when there’s no fire is a different problem: that’s often negative pressure pulling air down the flue, or moisture combined with soot.
Draft behavior. A fire that starts hard, sits lazy, or produces less heat than it did a month ago is telling you something about the flue. Partial blockage, a damper that’s drifted, or a cap screen packed with soot will all weaken draft. Notice whether the fire behaves differently on still days versus windy ones; that pattern helps a technician diagnose.
Smoke rollback. If smoke spills into the room when you open the glass doors or light the fire, stop and investigate before the next burn. Rollback can come from a cold flue that hasn’t warmed, but it can also mean blockage or a pressure imbalance in the house. It’s a symptom, not a quirk.
Between those observations, mid-season is the right time to schedule a cleaning if your firewood isn’t fully seasoned or you burn frequently. A chimney sweep mid-winter isn’t unusual in a heavy-use household, and it’s much easier than dealing with a chimney fire or a smoking fireplace in the middle of the season.
Off-Season Checklist: April Through September
The off-season is when the chimney is most vulnerable and least watched. That’s why April through September deserves its own checklist rather than being lumped in with spring cleaning. The threats here are water, animals, and time. Each gets a specific check.
- Cap integrity after the burn season. You inspected it in October; now check it again after months of use and summer storms. Soot-heavy caps can clog their screens, and clogged screens reduce draft for next season.
- Animal screen checks. Mesh tears, gaps at the cap base, and openings where the cap meets the flue are all entry points. Wildlife problems in idle chimneys are common in this climate, and nesting material left in place over summer becomes a fire hazard waiting for October.
- Moisture barrier review. Confirm the crown is intact, flashing is sealed, and the cap is shedding water properly. Water intrusion is the top cause of masonry deterioration in humid climates, and it does its damage slowly and invisibly.
- Firebox and damper idle position. Leave the damper closed to keep humid air out. Some homeowners leave it open for airflow; that invites moisture into the flue.
- Clear the firebox of anything stored. Same rule as October, worth repeating because the habit slips.
- Schedule the pre-season inspection before the fall rush. Late summer is the easiest time to book and gives you time to address findings without pressure.
If your inspection last season turned up a liner concern that a technician said could wait, the off-season is when that “wait” gets re-evaluated. We’ll cover what’s safe to defer and what isn’t in the inspection section below.
DIY-Visual vs. Professional Checklist Items
Homeowners can and should inspect their chimney visually. What they can’t do is see inside the flue, verify the liner’s condition, or evaluate the smoke chamber without the right tools. Knowing the line between the two protects your time and your safety. Here’s how to sort your list.
Safe for you to check visually:
- Cap seating and screen condition from the ground with binoculars
- Crown cracks visible from the roof or ground
- Firebox firebrick and mortar condition through the opening
- Damper operation by hand
- Water staining around the firebox and nearby ceiling
- Smoke behavior at lighting and during burns
Requires a trained sweep and specialized tools:
- Flue interior condition, verified with a camera
- Creosote depth and glazing level
- Liner integrity, including any gaps or deterioration
- Smoke chamber and throat condition above the damper
- Draft measurement under controlled conditions
- Structural evaluation of the masonry, crown, and flashing
We don’t recommend homeowners climb onto roofs to check a chimney. Steep-pitch or height work on a chimney is a genuine fall risk, and the view from up there doesn’t tell you anything a ground check plus a camera inspection won’t. If you want a thorough picture of your flue without getting on the roof, the answer is an inspection. That’s the reason every job pathway starts with one.
Creosote, Draft, and Why the Burn Window Matters Here
Creosote is the residue of incomplete combustion, and its danger is cumulative. It builds in layers through a burn season, and the type of creosote matters. Sooty, dusty creosote sweeps out easily. Glazed, tar-like creosote is harder to remove and much more combustible. Every sweep visit is partly about clearing the buildup and partly about knowing which type you’re accumulating, because that tells you how your burning habits are shaping the flue.
The burn window in Pembroke Pines is shorter than in colder markets, but it’s more concentrated. Homeowners fire heavily for a condensed stretch. If firewood isn’t seasoned properly, or if the flue runs cool because fires are small and smoldering, the creosote load builds faster than the number of fires would suggest. That’s the counterintuitive part: short, smoldering fires deposit more than hot ones.
Draft is the other side of the equation. A well-drafted chimney carries smoke up and out efficiently; a poorly drafted one lets it linger, cools the flue, and deposits creosote faster. Changing weather, home pressure from appliances, and the condition of the flue all affect draft. When a chimney is drafted poorly, the fix isn’t always more sweeping. It can involve the cap, the damper, or the liner. Brands like Olympia Chimney and DuraFlex exist because liner and cap components have real implications for draft, and a chimney repair that addresses draft is worth more than a cleaning that ignores it.
A Pembroke Pines homeowner who fires regularly should plan on at least an annual inspection, and a sweep when deposits reach a level that warrants it. A trained sweep will tell you what your specific usage calls for, which is more useful than a generic schedule.
What a Real Inspection Should Document
An inspection that isn’t written down isn’t really an inspection. A proper evaluation ends with a documented report you can hold in your hand (or open on your phone), with findings listed and photographed. This is the part of chimney care that protects homeowners from the uncomfortable scenario where a repair recommendation sounds serious but can’t be verified. Every job pathway here starts with an inspection, and the findings are documented before repair recommendations are made. That sequence is the whole point.
Here’s what a thorough inspection covers:
- Flue interior with camera. Photographic evidence of what’s actually inside your flue, not a verbal summary.
- Liner condition. Any cracking, separation, or gaps documented with images.
- Firebox and smoke chamber. Bricks, mortar, and parging evaluated and photographed.
- Crown, cap, and flashing. Exterior condition addressed with photos showing the actual state of each.
- Draft performance. Whether the chimney is drafting as it should.
- Clear findings and recommendations. Written out, with the reasoning behind each.
When we recommend a repair, it’s because a camera image shows it needs doing. That’s not a sales tactic; it’s the only honest way to recommend thousands of dollars of work. It also lets you tell us to hold off on something that can wait, without worrying you’re ignoring a hazard. If we say a repair can safely wait until next season, you should hear exactly that. When the work is needed, our specialists use HeatShield for resurfacing and DuraFlex for liner replacement, and those materials are chosen because the repair should outlast the warranty conversation, not just close out a ticket.
Common Mistakes to Avoid
- Skipping the inspection because the fireplace worked fine last year. A chimney that lit well last season can have developed a problem through the summer. The inspection before your first fire catches the change.
- Assuming a visual once-over from the ground equals an inspection. It doesn’t. A camera view of the flue interior shows what the ground check never will, and the two are not interchangeable.
- Burning unseasoned wood because it’s what’s available locally. High-moisture wood cools the fire and deposits more creosote. Ask for seasoned firewood and accept the wait.
- Leaving the damper open through the summer. It invites humid air into the flue and into the house, and this climate gives it plenty of moisture to work with.
- Ignoring a post-storm change in the cap or masonry. A storm is exactly when you’d expect a cap to shift, and checking afterward is the cheapest way to prevent a water problem.
- Accepting a repair quote without seeing the evidence. Ask for the camera images. If a recommendation can’t be shown to you, it shouldn’t be made to you.
- Treating the chimney as a seasonal decoration rather than a venting system. It’s a life-safety system. Insist on service that treats it that way.
When to Call a Professional
Some checklist items are visual and some need a technician’s tools. These are the scenarios where a professional call is the right next step rather than a “maybe later.” Call if you see or suspect a cracked or missing flue liner, if the fire produces smoke rollback into the room, if you find new water staining in the firebox or ceiling, if masonry is loose or the chimney leans after a storm, if you smell persistent odor when there’s no fire, if a damper won’t seal, or if your last sweeping is more than a year old and you burn regularly. If a previous inspection said something could wait, and it’s now been a full season, arrange a recheck rather than letting the item drift.
Monarch Chimney Sweep offers free estimates in Pembroke Pines – call (855) 701-1714. We answer 24/7, with fast dispatch from 7am to 7pm, Sunday through Friday.
Frequently Asked Questions
Plan on an inspection every year and a sweep when deposits build to a level your technician flags. Because the burn window here is short and concentrated, a homeowner who fires heavily might need sweeping each season, while someone who burns a few times a month may go longer between sweeps with annual inspections in between. The inspection sets the schedule for your specific use.
Check the cap seating and attachment first, then the screen condition, then the crown for new cracks, then the flashing and masonry joints for anything pulled loose. Look for water staining in the firebox and the ceiling nearby. Any visible lean or movement is a call-a-professional item, not a do-it-yourself repair.
You can visually check a lot from the ground and through the firebox opening. What you can’t do without the right tools is see inside the flue, measure creosote depth, or evaluate the liner. Camera inspection is where the real diagnostic evidence comes from, and that’s the reason a proper inspection starts every job.
Skipping the inspection means you lose the chance to catch a small problem before it becomes a large one. Cap shifts, liner cracks, and moisture intrusion all develop quietly during the off-season. The inspection is also your safety check: it verifies the flue is clear and drafting correctly before you burn. Call (855) 701-1714 to get on the schedule before the fall rush.
A repair can wait if it’s a cosmetic or moisture-control item that isn’t creating an immediate hazard, and we’ll say so when it’s true. Some items shouldn’t wait: a compromised liner, a loose cap, or masonry movement after a storm all need addressing before the next burn. Call (855) 701-1714 and we’ll look at what the camera shows rather than guessing.
Yes, mainly in timing. There’s no long freeze season here, so the annual rhythm is a short, concentrated burn window and a long idle summer that gets stressed by hurricane season. The checks shift toward cap and moisture integrity during the off-season and toward draft and creosote observations during the burn window rather than toward cold-weather frost concerns.
The Bottom Line
Chimney care in Pembroke Pines works best on a seasonal calendar rather than a calendar of fixed annual dates. October is for the pre-season inspection before the first fire. Storm aftermath is for the cap-and-masonry check. The burn window is for watching draft, odor, and smoke behavior. April through September is for cap integrity, screens, and moisture. The one item that supports everything else is a professional inspection with a camera and a documented report, so a repair recommendation is something you can see proof of before you agree to it. Call (855) 701-1714 for a free estimate.
Written by the team at Monarch Chimney Sweep.
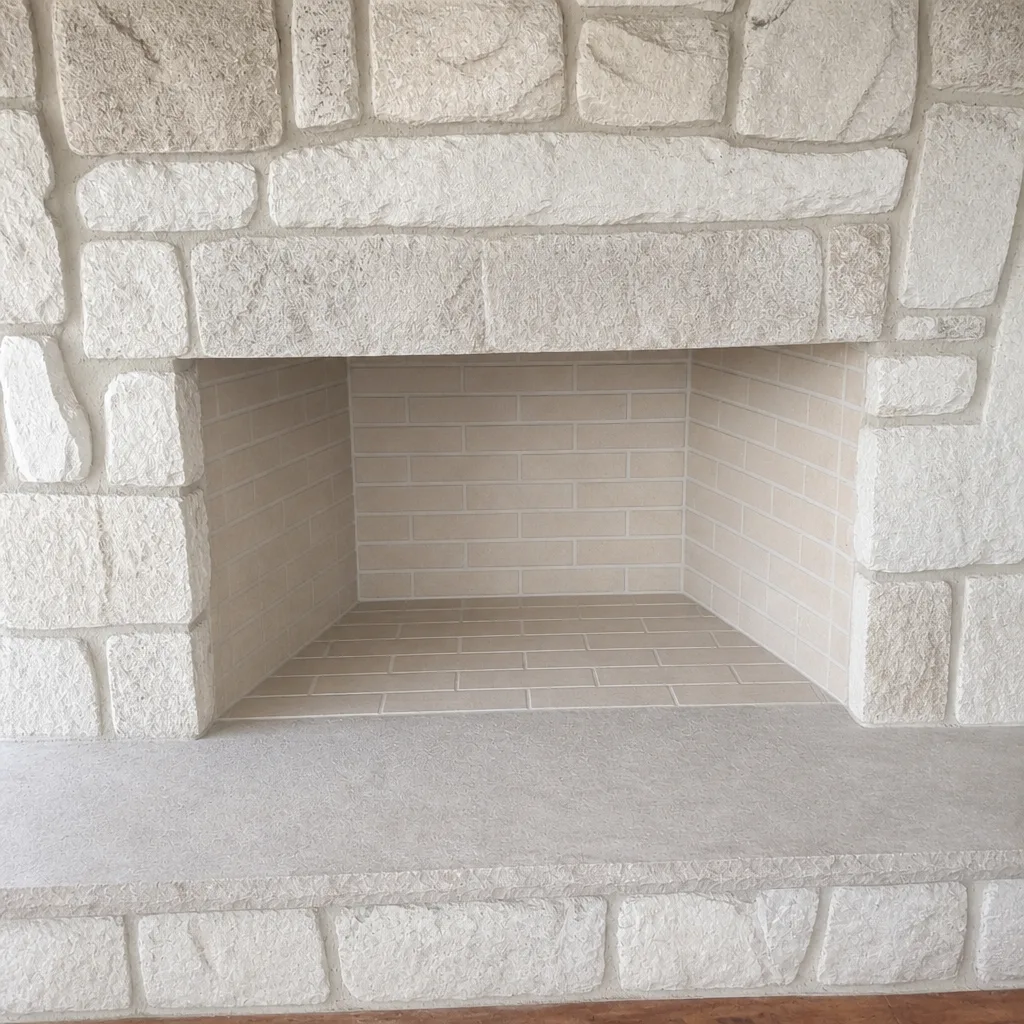
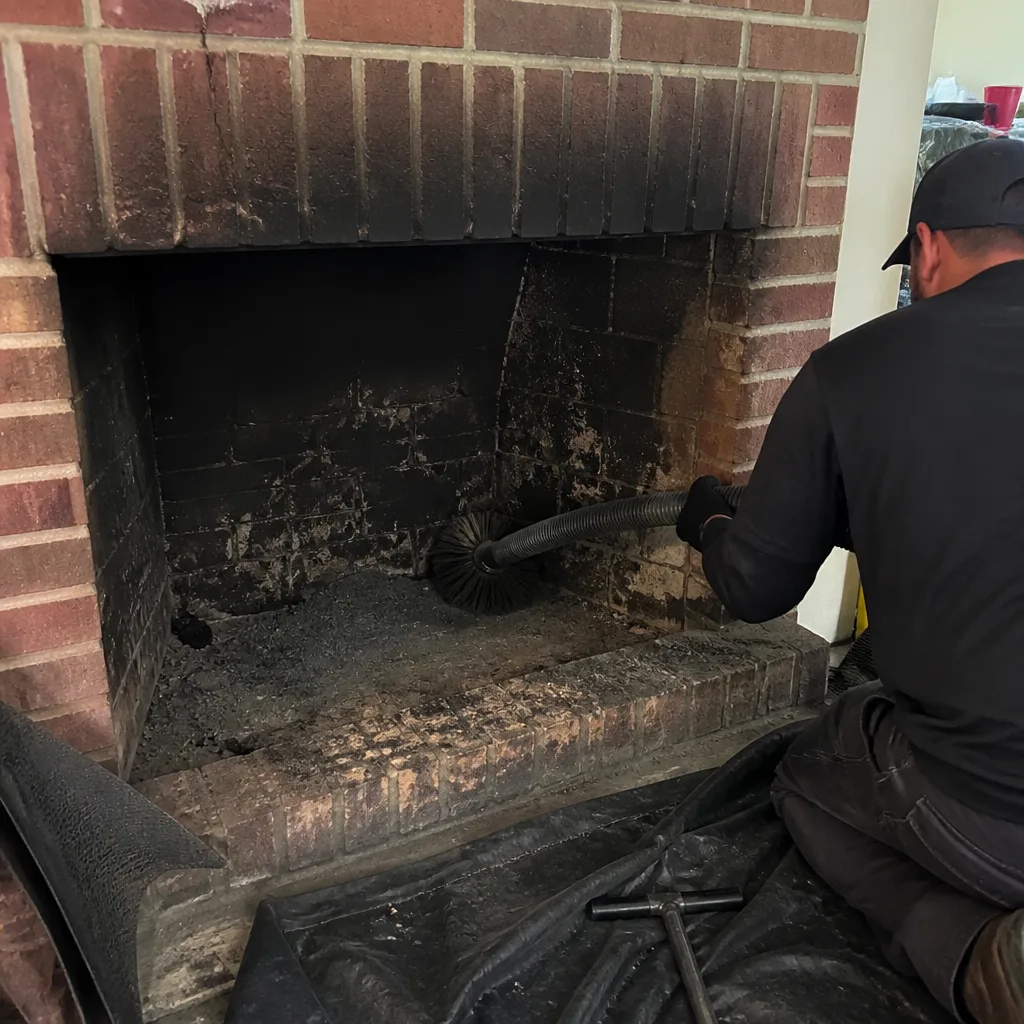
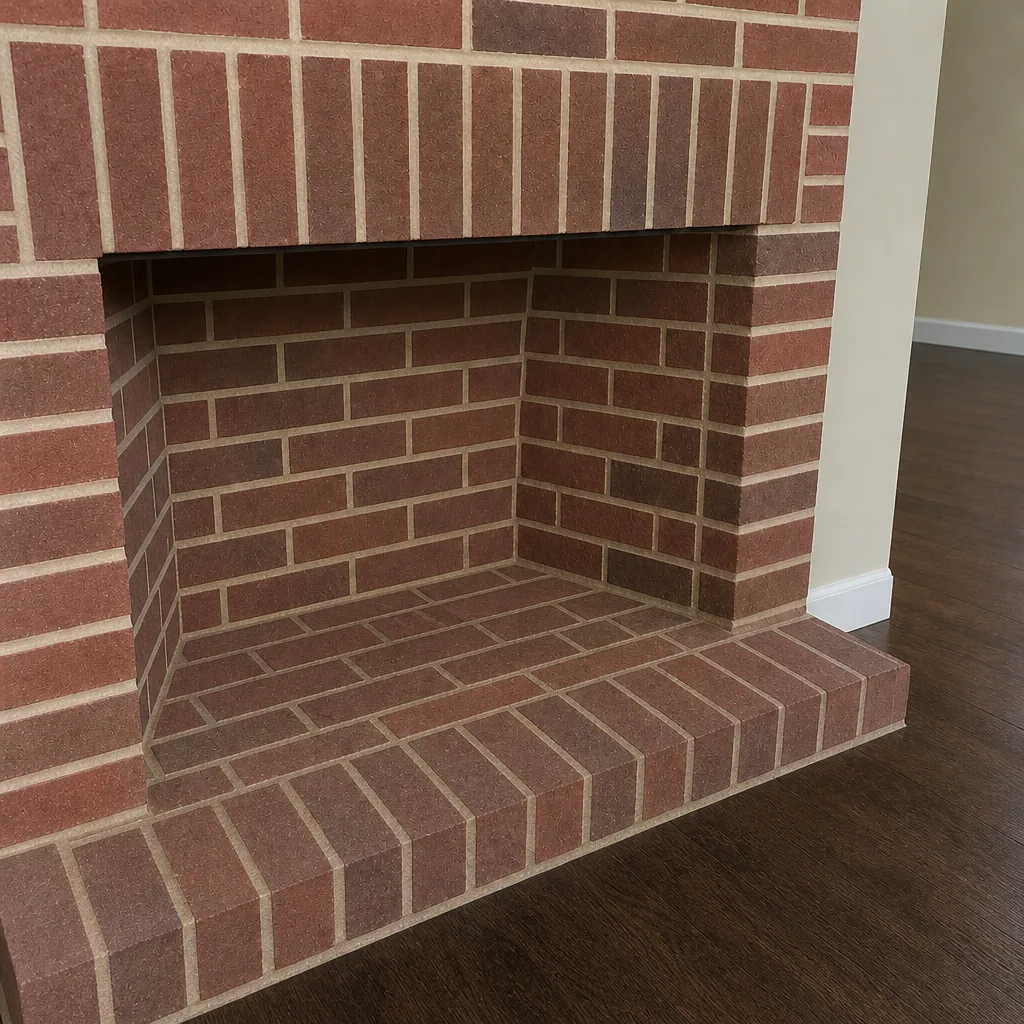
See the difference
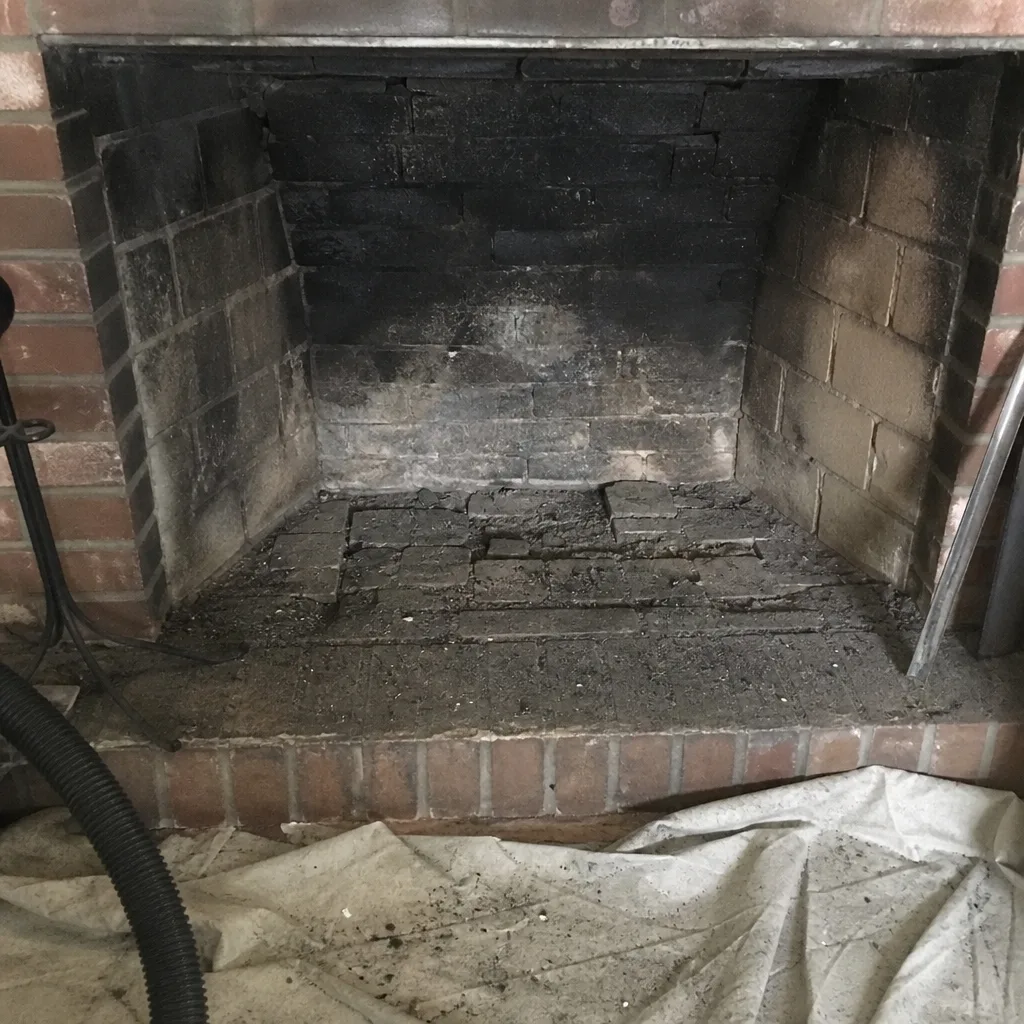 Before
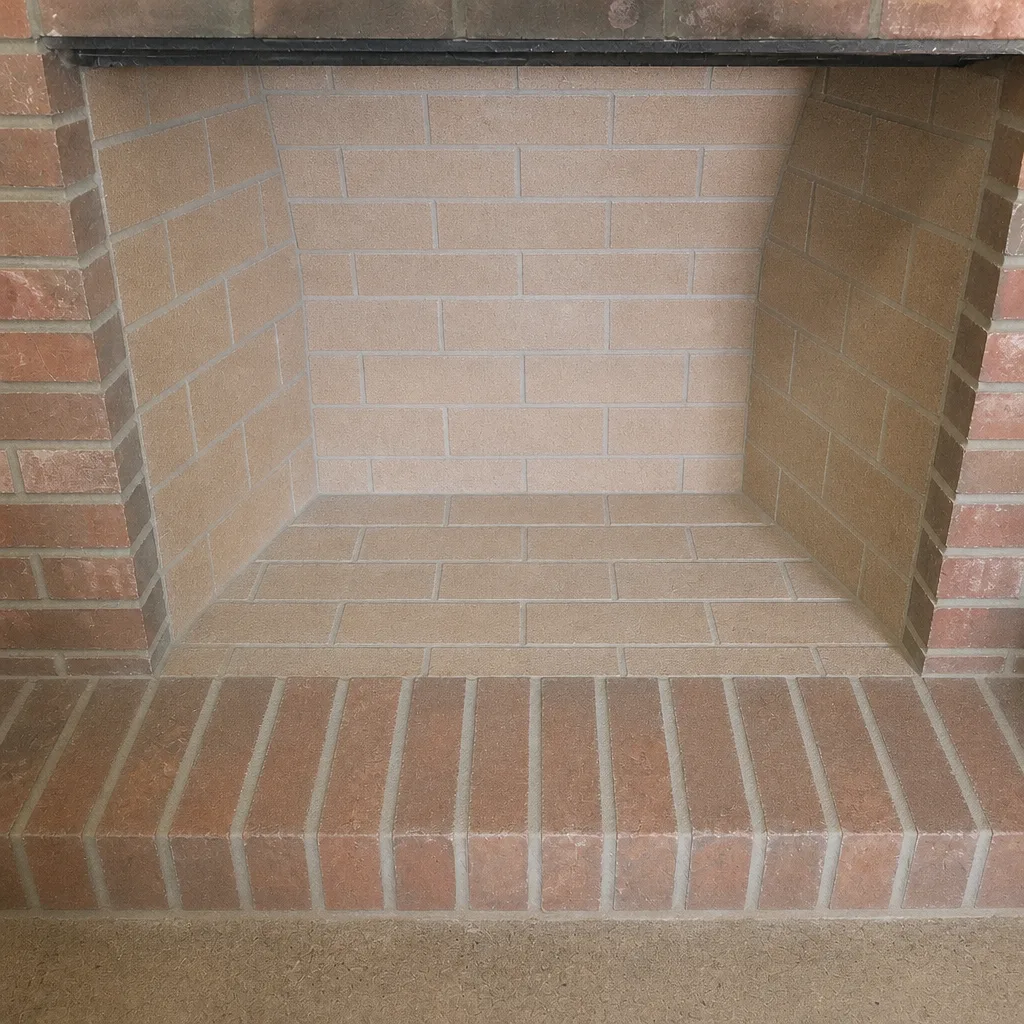 After
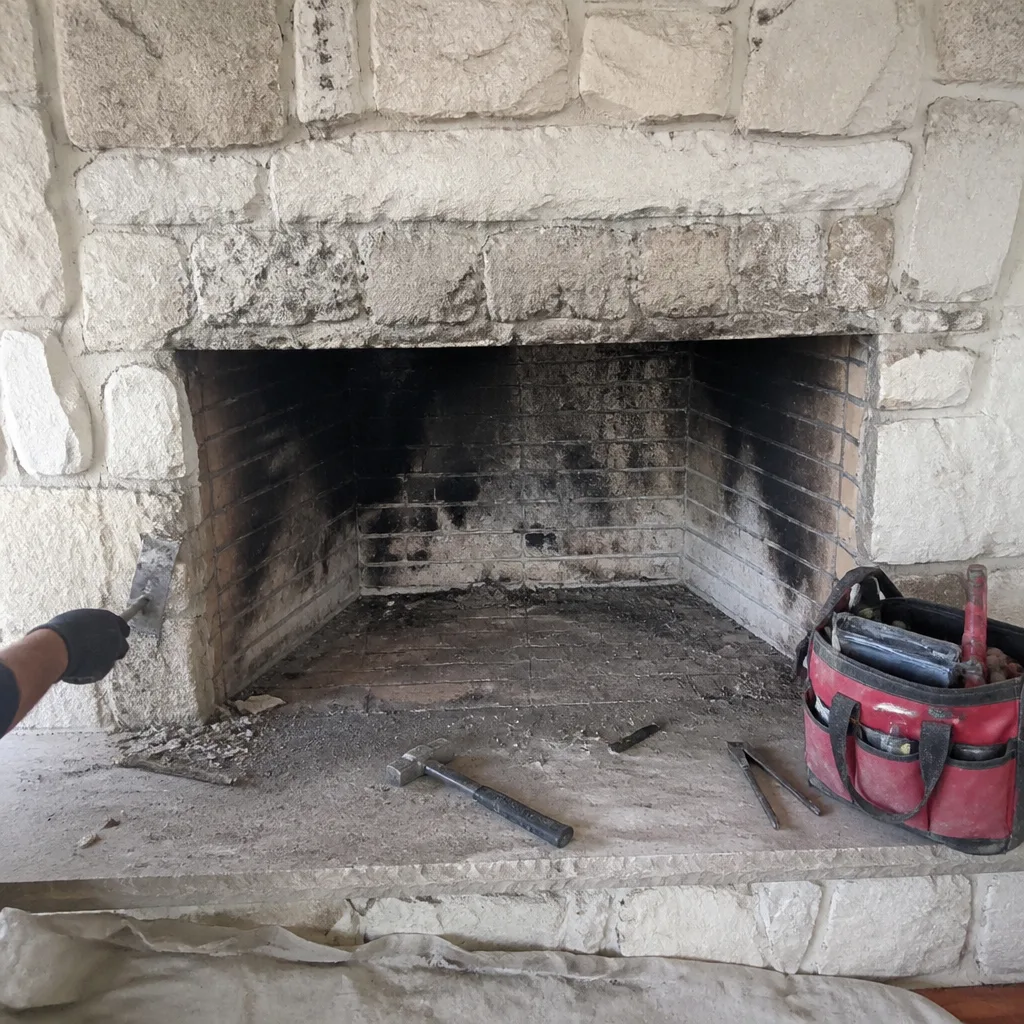 Before
 After
 Before
 After